
Blog
Caring for Your Wood Products: Maintenance Tips for Lasting Beauty

Wood is one of the few materials that can look both refined and welcoming, even after years of real use. The catch is that it records its environment. Light, water, heat, grit, and even well-meaning cleaners all leave traces over time. With the right care, those traces become a gentle patina instead of damage.
What follows is a practical, home-friendly approach to keeping wood furniture and décor looking sharp, feeling smooth, and aging on purpose.
Start by identifying what you actually have
Maintenance depends less on the wood species and more on the finish. Most household pieces fall into one of these categories:
- Film finishes (polyurethane, varnish, lacquer): a protective layer sits on top of the wood. These resist spills well but can show scratches and haze if cleaned incorrectly.
- Penetrating finishes (oil, hardwax oil): protection lives partly within the wood fibers. These are easy to refresh but less forgiving of standing water.
- Painted wood: durable, but edges can chip and water can creep under damaged areas.
- Unfinished or “raw” wood: very absorbent, fast to stain, and happiest with prompt sealing or careful, dry use.
If you’re unsure, try this: in an inconspicuous spot, place a tiny drop of water and wait one minute. If it beads, you likely have a film finish. If it darkens quickly, it’s probably oil, wax, or unfinished.
One more clue is feel. A slick, glassy surface often means a film finish. A warm, matte surface that feels “close to the wood” often points to oil or hardwax oil.
Cleaning that protects the finish instead of stripping it
Most wood damage blamed on “time” is really grit and overly aggressive cleaning. Dust contains tiny mineral particles. When wiped with pressure, it becomes sandpaper.
Start with the gentlest routine that works, then only step up when needed. After a quick pass with a microfiber cloth, a lightly damp cloth usually handles fingerprints and food residue.
A few habits make an outsized difference:
- Dry first: remove dust before you introduce moisture.
- Damp, not wet: wring cloths hard. Standing water is the enemy.
- Mild soap only when needed: a drop of gentle dish soap in warm water beats most sprays.
- Buff dry: a second clean cloth prevents streaks and water marks.
Avoid products that promise a high-gloss “instant shine” unless you know exactly what is in them. Silicone can make surfaces look great briefly, then complicate future repairs and refinishing. Ammonia and high-alcohol cleaners can dull or craze some finishes.
After a paragraph of good intentions, it helps to have a short list you can follow on busy weeks:
- Dusting: microfiber cloth, light pressure
- Spot cleaning: warm water with a tiny amount of mild dish soap, then dry
- Grease or residue: dilute soap, gentle circular wipe, repeat rather than scrub
- Glass or sticky rings: damp cloth, then buff with a dry cloth until squeak-free
Control the “slow damage”: moisture, heat, and sun
Wood moves with humidity. It expands when humid and shrinks when dry. Finishes slow that movement, but they do not stop it.
If you have seasonal sticking drawers, small gaps, or slight cupping on panels, your home’s humidity swings are likely the real cause. Many homes do best with a rough target of 35 to 55 percent relative humidity. A small hygrometer is inexpensive and removes guesswork.
Heat is simpler: it can soften some finishes and drive moisture into bare spots around joints. Sunlight fades wood and can yellow certain topcoats.
Small environmental choices go a long way:
Place furniture a few inches away from heat vents or radiators when possible. Use blinds or UV-filtering window film for pieces that sit in strong afternoon sun. If you rotate décor (bowls, frames, lamps) occasionally, you prevent “tan lines” where the wood darkens unevenly.
Daily protection that still looks good
Coasters, felt pads, and tablecloths sound basic, yet they solve the majority of damage patterns seen on wood surfaces. They also let you use your furniture without treating it like a museum piece.
Felt pads under lamps and planters prevent micro-scratches from vibration. Trivets under hot dishes prevent heat blush and finish softening. A washable runner on a dining table can be both design and armor.
If you like wax, treat it as a look and feel choice, not as serious spill protection. Paste wax can deepen sheen and add slip, but it needs renewal and can show smudges if overapplied. On an already sealed surface, wax is optional.
If your pieces are finished with oil or hardwax oil, a periodic “maintenance coat” is often the best protection. The surface will tell you when it’s time: it looks dry, feels slightly rough, and absorbs water instead of beading.
Preventing common damage patterns before they start
Water rings, cloudy spots, and small chips are often symptoms of the same underlying issue: moisture got where it should not. The fix is partly prevention, partly quick response.
Act fast on spills, especially around legs, feet, and the underside of planters. A top surface might be well sealed while edges and bottoms are thinner on finish.
A few high-impact practices are worth adopting:
- Coasters and trivets: protect against both moisture and heat
- Felt under décor: prevents scratches from small movements
- Plant barriers: use a saucer plus a cork or felt layer, and empty excess water promptly
- Entryway grit control: mats reduce the sand that ends up on wood benches and sideboards
Fixing small problems without making them bigger
Most homeowners can handle light restoration work with patience and a conservative touch. The key is to match your method to the type of damage.
Water rings and cloudy haze
Cloudiness is often moisture trapped in the finish, not a stain in the wood. Gentle warming can help drive it out. Start with the safest approach: let the piece sit in a warm, dry room for a day or two. If it improves, time and stable humidity may finish the job.
If you need to intervene, use low heat and distance. A hair dryer on low, kept moving, several inches away, can reduce haze on some film finishes. Stop frequently and check. Overheating can soften the finish and make it worse.
Light scratches
Many “scratches” are actually marks in wax, residue, or the very top of the finish. Clean first. If the scratch remains and is shallow, a light buff with a soft cloth can reduce its visibility.
For a scratch that has cut through color, use a color-matched furniture touch-up marker or wax fill stick. Apply sparingly. Build up slowly. Buff lightly.
Dents
A dent where fibers are compressed (not torn) can sometimes be raised with moisture and heat. Place a barely damp cloth over the dent and touch it briefly with a warm iron, checking every few seconds. This swells the fibers upward. Let dry fully before judging.
Do not use this on veneer edges or unknown finishes without testing first. Too much moisture can loosen glue.
Sticky drawers and squeaky wood-on-wood slides
Seasonal movement causes tightness. A simple rub of paraffin wax (or even a plain bar of soap) on the drawer runners can restore smooth motion. If the drawer is truly swollen, stabilize humidity first, then reassess.
Here is a compact “choose the gentlest fix” guide you can keep handy:
- Cloudy spot: wait in a dry room, then try low heat from a distance
- Hairline scratch: clean, buff, then touch-up marker only if needed
- Small chip on an edge: color wax fill, level gently, buff
- Sticky drawer: wax the runners, reduce humidity swings
Restoring a tired finish without a full refinishing project
When a surface looks dull across the entire piece, it may not need sanding. It may need cleaning and a refresh that matches the original finish type.
For film finishes (poly, varnish, lacquer)
Deep-clean first with mild soap and water on a damp cloth, then dry. If the piece still looks tired, a quality, non-silicone furniture polish used sparingly can improve appearance, though it is not a repair.
If there are small areas of wear-through, spot repairs are tricky because film finishes can show “witness lines.” A clear wipe-on finish can sometimes blend minor wear, but testing in a hidden area matters.
For oil and hardwax oil finishes
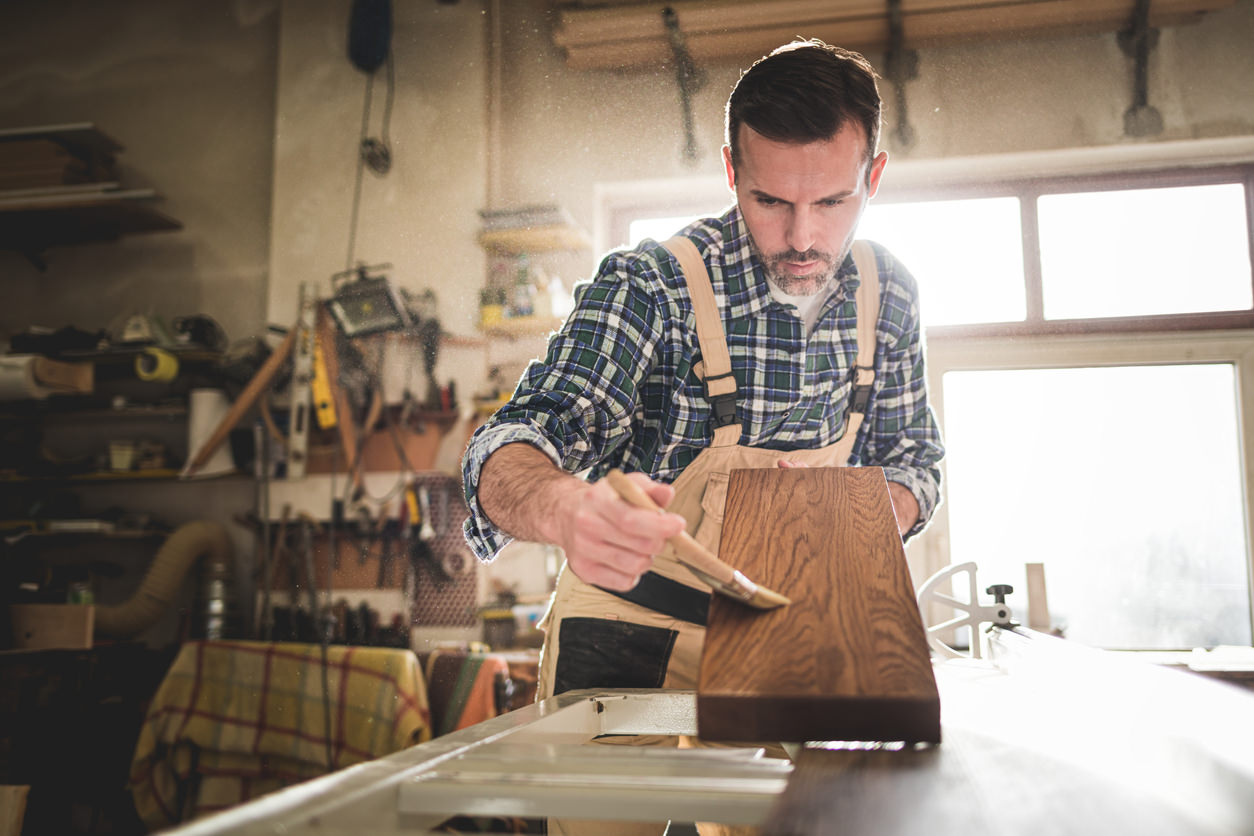
These are often the easiest to renew gracefully. Clean the surface, let it dry, then apply a maintenance oil or hardwax oil per the manufacturer’s instructions. Work thin. Wipe off excess. Let it cure fully before heavy use.
A common mistake is leaving too much oil on the surface, which turns tacky and attracts dust. Thin coats win.
For unfinished wood
If you want it to stay pale and cleanable, consider sealing it. Even a clear finish in a matte sheen keeps the natural look while reducing stains. If you prefer a more traditional feel, a penetrating oil can deepen color while keeping the surface looking natural.
When refinishing is the right call
Sometimes maintenance cannot compensate for a finish that is failing. Peeling, flaking, deep all-over cracking, or large areas of bare wood usually mean the protective system is compromised.
Veneer pieces require extra care because sanding through veneer is permanent. Antique or valuable items may deserve professional evaluation, especially when historical value matters.
If you do tackle refinishing, focus on process control: dust management, careful surface prep, and adequate cure time. Rushing is what leaves fingerprints, cloudy coats, and uneven sheen.
A simple maintenance calendar you can follow
A plan works best when it fits real life. The table below assumes typical household use and common finishes. Adjust for kids, pets, frequent entertaining, or very dry or humid climates.
| Item | Weekly | Monthly | 1 to 2 times per year | Notes |
|---|---|---|---|---|
| Dining table (film finish) | Dust, spot clean | Check pads, coasters | Inspect for wear at edges | Keep heat protection handy for serving dishes |
| Coffee table (film finish) | Dust, wipe rings fast | Deep-clean with mild soap | Light polish only if needed | Avoid silicone-heavy “shine” sprays |
| Sideboard or console | Dust | Clean fingerprints | Inspect sun exposure | Rotate décor to prevent uneven darkening |
| Cutting boards (oiled) | Wash, dry upright | Re-oil if dry | Sand lightly if rough, then oil | Never soak; keep away from dishwasher |
| Wood floors (sealed) | Vacuum soft brush | Damp mop with floor-safe cleaner | Evaluate high-traffic wear | Grit control at doors protects the finish |
| Oil or hardwax oil furniture | Dust, spot clean | Clean, check water beading | Maintenance coat as needed | Thin coats, wipe off excess, allow cure time |
If you want one habit that pays back fast, place a microfiber cloth where you already live, near the dining area or living room. A gentle, frequent wipe beats a rare, aggressive cleaning session every time.
And if a piece starts to look “off,” treat that as useful feedback. Wood is responsive. Small changes in humidity, sunlight, and daily contact show up early, which means you can correct course long before real damage settles in.